
Overview of Taylor Cooking Thermometer Instructions
Taylor cooking thermometers offer precision and reliability for various cooking tasks. Their models include candy, meat, and oven thermometers, ensuring accurate temperature control. Proper calibration and setup are essential for optimal performance, while features like folding probes and preset options enhance versatility. Following the instructions ensures safety, accuracy, and longevity of the device.
Taylor cooking thermometers are renowned for their durability and precision, offering a range of models for candy, meat, and oven use. Their thermometers are designed for both home and professional cooking, ensuring accurate temperature control. With clear instructions and robust construction, Taylor thermometers are a reliable choice for achieving perfect cooking results every time.
1.2 Importance of Following Instructions for Accurate Readings
Adhering to the instructions ensures precise temperature measurements. Proper calibration, battery installation, and handling prevent inaccuracies. Misuse can lead to incorrect readings, affecting food safety and quality. Following guidelines extends the thermometer’s lifespan and guarantees optimal performance, making it essential for achieving consistent cooking results and safeguarding your culinary efforts.
Unboxing and Initial Setup
Unboxing reveals a well-packaged thermometer with all necessary accessories. Initial setup involves familiarizing yourself with the device’s design and preparing it for first use.
2.1 What’s Included in the Package
The Taylor cooking thermometer package typically includes the main unit, a durable folding probe, a wire attachment for secure placement, a user manual, and sometimes a storage case. Batteries may be provided or require separate purchase. Everything needed for setup and basic operation is neatly organized within the original packaging.
2.2 First Impressions and Design Overview
The Taylor cooking thermometer features a sleek, ergonomic design with a clear digital display for easy readability. The stainless steel probe is durable and foldable for convenient storage. First impressions highlight its user-friendly interface, with intuitive buttons for mode selection and calibration. The overall build exudes quality, ensuring both reliability and longevity for various cooking applications.
Battery Installation and Power Management
Taylor thermometers require correct battery installation for accurate readings. Use the on/off switch to conserve power. Replace batteries promptly when low to maintain performance. Follow guidelines for optimal functionality.
3.1 Steps to Install Batteries Correctly
Installing batteries in your Taylor thermometer is straightforward. First, locate the battery compartment, usually on the back. Open it by sliding or unscrewing the cover. Insert the recommended battery type, ensuring correct polarity. Close the compartment securely. Avoid mixing old and new batteries. Proper installation ensures accurate readings and extends device lifespan. Always follow the manual for specific instructions.
3.2 Conserving Battery Life: Best Practices
To extend battery life, turn off the thermometer when not in use. Store it in a cool, dry place, away from extreme temperatures. Use high-quality batteries and avoid mixing old and new ones. Replace batteries promptly when performance declines. Regularly check for signs of wear and ensure the compartment is sealed tightly. Proper care ensures reliable operation and minimizes replacements.
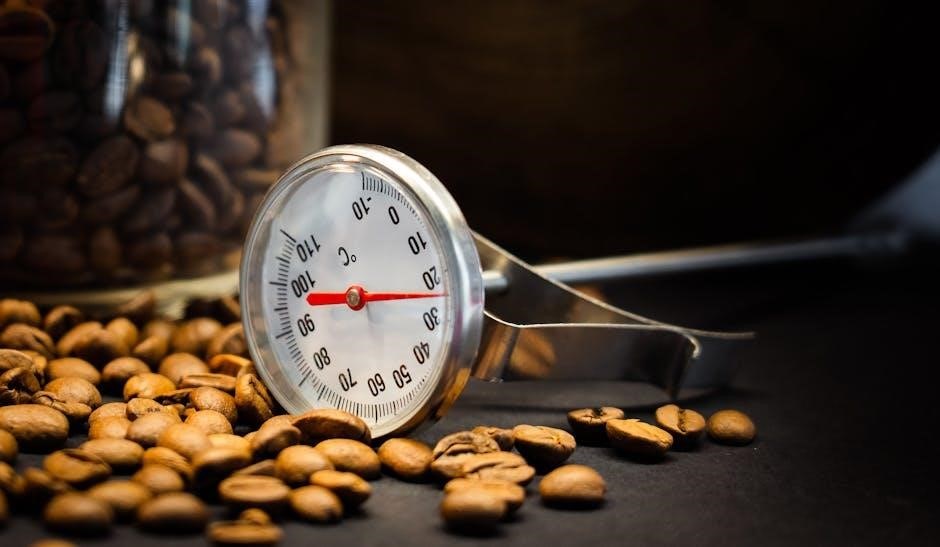
Calibration Process
Calibration ensures accurate temperature readings. Press the CAL button until “CAL” appears, then wait for the display to stabilize. Adjust if necessary for precise measurements every time.
4.1 Why Calibration is Crucial for Accuracy
Calibration is essential for ensuring your Taylor thermometer delivers precise readings. Incorrect calibration can lead to undercooked or overcooked food, posing safety risks. Regular calibration guarantees accurate temperature measurements, maintaining consistency in cooking results. It’s a simple process that prevents errors and ensures your thermometer performs reliably for all your culinary needs every time.
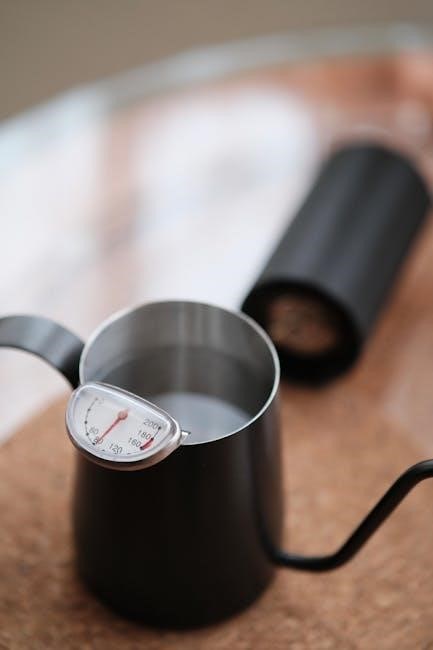
4.2 Step-by-Step Calibration Instructions
Press and hold the CAL button for 2 seconds until “CAL” appears. Submerge the probe in ice water, ensuring it doesn’t touch the bottom. Wait for the temperature to stabilize and display 32.0°F. Press CAL again to set the temperature. This ensures accurate readings for all your cooking needs. Proper calibration is key to reliable performance.

Using the Thermometer for Cooking
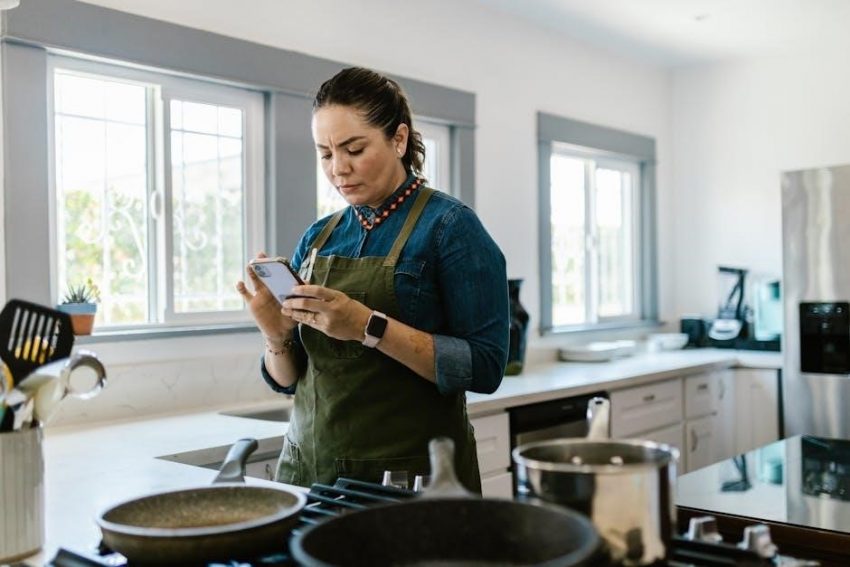
Unfold the probe and turn the thermometer on. Insert the tip into food or liquid, avoiding contact with bones or surfaces. For oven use, preheat and sterilize the probe before inserting. Handle hot thermometers with care, using oven mitts if necessary. Always follow specific guidelines for accurate temperature readings.
5.1 General Cooking Procedures
Start by unfolding the probe and turning the thermometer on. Insert the tip into the food or liquid, ensuring it doesn’t touch bones or surfaces. For oven use, preheat first, then sterilize the probe in boiling water. Always handle hot thermometers with care, using oven mitts if needed. Follow specific temperature guidelines for accurate results and food safety. Proper technique ensures precise readings every time.
5.2 Using the Thermometer in the Oven
Preheat the oven to the desired temperature before inserting the probe. Insert the sterilized probe into the food, avoiding contact with the pan bottom. Use oven mitts to handle the hot thermometer. Monitor the temperature display to ensure food reaches the recommended level. Turn the device off when not in use to conserve battery life and maintain accuracy.
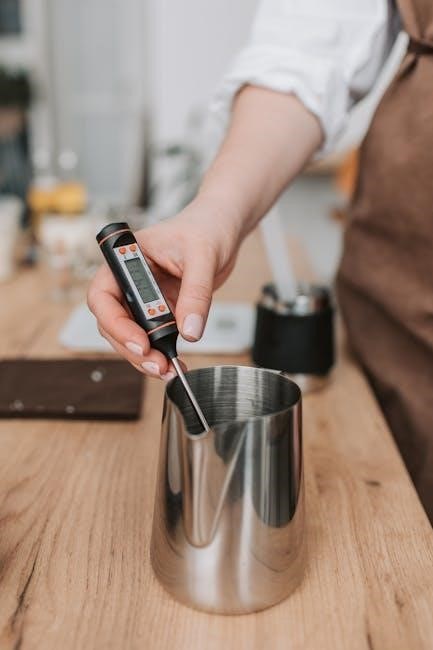
5.3 Tips for Measuring Internal Temperatures
Insert the probe into the thickest part of the meat, avoiding bones or fat for accurate readings. Keep the probe away from the container bottom to prevent inaccurate measurements. Sterilize the probe before use by briefly submerging it in boiling water. Monitor the temperature regularly while cooking to ensure precise control and avoid overcooking. Use oven mitts to handle hot thermometers safely, and ensure the wire does not touch flames or cooking surfaces. Turn the device off after use to conserve battery life and maintain performance. Regularly checking the temperature helps achieve perfectly cooked dishes every time, enhancing both taste and safety.
Maintenance and Care
Regular cleaning with mild soap and water prevents residue buildup. Avoid abrasive materials to maintain probe accuracy. Dry thoroughly after cleaning to prevent rust. Store in a protective case or dry place when not in use to extend lifespan. Replace batteries promptly to avoid leakage and ensure optimal performance.
6.1 Cleaning the Thermometer Properly
Clean the thermometer with mild soap and warm water, avoiding abrasive materials. Dry thoroughly to prevent rust. Avoid exposing the probe to harsh chemicals or rough scrubbers. For tough residue, soak briefly before wiping clean. Regular cleaning ensures accuracy and prevents bacterial growth. Always handle the probe carefully to maintain its sensitivity and extend its lifespan.
6.2 Storage Tips to Extend Lifespan
Store the thermometer in a cool, dry place to prevent moisture damage. Use a protective case or pouch to shield the probe from bending or punctures. Avoid exposing the device to extreme temperatures or direct sunlight. Turn off the thermometer when not in use to conserve battery life. Proper storage ensures longevity and maintains accuracy for future use.

Troubleshooting Common Issues
Common issues include inaccurate readings or the thermometer not turning on. Check calibration, battery life, and probe condition. Consult the manual for detailed solutions to resolve problems effectively.
7.1 Resolving Accuracy Problems
If your Taylor thermometer shows incorrect readings, recalibrate it by pressing the CAL button for 2 seconds until 32.0°F displays. Ensure batteries are fresh and properly installed. Avoid exposing the probe to extreme temperatures or direct flames, as this can damage the sensor. Regularly cleaning the probe and following calibration steps helps maintain accuracy for reliable cooking results every time.
7.2 Fixing a Thermometer That Won’t Turn On
If your Taylor thermometer won’t turn on, check the battery compartment for correct polarity and ensure batteries are fresh. Clean the contacts with a soft cloth to remove corrosion. Verify the on/off switch is functioning properly. If issues persist, consult the user manual or contact Taylor support for further assistance or potential replacement options;

Safety Precautions
Always handle hot thermometers with potholders or oven mitts to avoid burns. Ensure the probe does not touch the container bottom or flame, and keep wires away from heat sources.
8.1 Handling Hot Thermometers Safely
Always handle hot thermometers with care to prevent burns. Use oven mitts or potholders when touching the device after cooking. Avoid direct contact with the probe or metal parts. Keep wires away from open flames or hot surfaces. Regular cleaning with a soft cloth prevents food residue buildup. Proper handling ensures longevity and safe operation.
8.2 Avoiding Damage to the Probe
To prevent damage, avoid exposing the probe to extreme temperatures or direct flames. Never submerge the thermometer in water or cleaning solutions. Keep the probe away from sharp objects and avoid bending it excessively. Regular cleaning with a soft cloth ensures optimal performance. Proper care extends the probe’s lifespan and maintains accurate readings.

Presetting Cooking Temperatures
Presetting cooking temperatures ensures food is cooked to your desired taste. Use the recommended settings for meats, candies, or baked goods to achieve precise results effortlessly.
9.1 Setting Recommended Cooking Temperatures
Setting recommended temperatures ensures optimal cooking results. Refer to the provided guidelines for specific dishes, such as medium-rare steak at 135°F or candy at 300°F. Use the preset feature for consistency, adjusting as needed. This ensures food safety and flavor, making the process efficient and stress-free for both novice and experienced cooks alike.
9.2 Using Preset Features for Specific Dishes
The Taylor thermometer’s preset features simplify cooking for specific dishes. For poultry, set to 165°F for safe doneness. Beef settings range from 135°F for medium-rare to 160°F for medium. Fish can be preset to 145°F, while candy settings go up to 300°F. These features ensure precise temperature control, guaranteeing perfectly cooked meals with minimal effort and maximum consistency.
Advanced Features and Tips
Taylor thermometers offer advanced features like folding probes for easy storage and switching between Fahrenheit and Celsius for versatility. These enhancements improve accuracy and user convenience.
10.1 Utilizing the Folding Probe
The folding probe on Taylor thermometers is designed for convenient storage and easy handling. To use it, simply unfold the probe to expose the temperature-sensing tip. This feature allows for precise temperature measurement without damaging the probe. When not in use, fold it back to protect the tip and extend the product’s lifespan.
10.2 Switching Between Fahrenheit and Celsius
To switch between Fahrenheit and Celsius on your Taylor thermometer, locate the switch marked “OF” on the dial face. Slide it to your preferred unit. The display will update accordingly. Ensure the unit is selected before use for accurate readings. This feature allows flexibility for different recipes and cooking preferences, enhancing your overall cooking experience with precision and efficiency.
Thank you for following this comprehensive guide. By adhering to these instructions, you’ll optimize your Taylor thermometer’s performance, ensuring precise readings and safe cooking practices every time.
11.1 Summary of Key Instructions
11.2 Maximizing Your Thermometer’s Performance
Regular calibration and proper cleaning ensure accuracy and longevity. Avoid extreme temperatures and store securely. Use folding probes for convenience and switch units as needed. Follow battery-saving tips and refer to the manual for model-specific guidance. By adhering to these practices, you can optimize your Taylor thermometer’s performance for precise and reliable cooking results every time.