

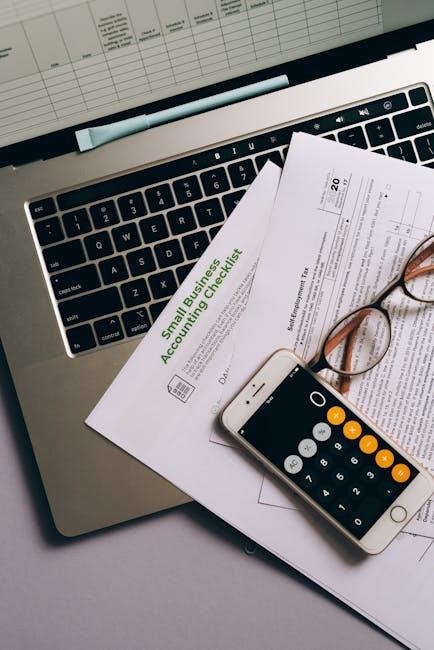
The Final Walk-Through Checklist is a crucial document for homebuyers, ensuring a smooth transition․ Available as a PDF download, it guides users through inspecting every aspect of their new property, verifying all features are in excellent condition and addressing any last-minute repairs before closing․
Why a Final Walk-Through is Essential
A final walk-through is a critical step in the home-buying process, ensuring the property is in the agreed-upon condition before closing․ It allows buyers to verify that all repairs requested after the home inspection have been completed and that no new issues have arisen․ This step also confirms that all systems, appliances, and fixtures are functioning properly and that the home is clean and ready for occupancy․ Without this final check, buyers might inherit unexpected problems after taking ownership․ The walk-through also provides an opportunity to address any last-minute concerns, ensuring a smooth transition and peace of mind․ It’s a safeguard for both buyers and sellers, helping to prevent post-closing disputes․ Use a final walk-through checklist PDF to systematically evaluate every aspect of the property․
Purpose of the Final Walk-Through Checklist
The final walk-through checklist serves as a comprehensive tool to ensure the property is in the agreed-upon condition at the time of closing․ Its primary purpose is to verify that all repairs requested after the home inspection have been completed and that no new issues have arisen․ Additionally, it confirms that all systems, such as plumbing, electrical, and HVAC, are functioning properly, and that all appliances and fixtures are in good working order․ The checklist also ensures the property is clean and free of debris, providing buyers with peace of mind․ It acts as a legal document, acknowledging the state of the property and helping to prevent post-closing disputes․ Finally, it offers a last opportunity for buyers to address any concerns before taking ownership․ Using a final walk-through checklist PDF ensures a systematic evaluation of every aspect of the property․
The Final Walk-Through Checklist: Key Components
The checklist covers exterior and interior inspections, verifying major systems like plumbing, electrical, and HVAC, and ensures all appliances and fixtures are in proper working condition․ A PDF download provides a detailed guide․

Exterior and Interior Inspection Points
The final walk-through checklist includes a detailed review of both the exterior and interior of the property․ Exterior checks involve inspecting walls, windows, doors, and the roof for any damage or issues․ Landscaping and drainage should also be evaluated to ensure everything is in order․ Inside, every room, closet, and storage area must be examined for cleanliness and condition․ Floors, ceilings, and walls are checked for cracks or water damage․ All doors and windows should open and close properly, and locks must be functional․ Lighting fixtures and ceiling fans are tested to ensure they work․ The checklist also covers less obvious areas like attics, basements, and crawl spaces, ensuring no hidden problems are overlooked․ A PDF download of the checklist provides a comprehensive guide to help buyers systematically inspect each area․
Major Systems to Check (Plumbing, Electrical, HVAC)
During the final walk-through, it’s essential to thoroughly inspect the property’s major systems to ensure they are functioning properly․ Start with the plumbing system: check for leaks under sinks, around toilets, and near water heaters․ Test faucets to ensure proper water pressure and drainage․ Flush toilets to confirm they work correctly and check the water heater’s operation․ Next, evaluate the electrical system by testing all outlets, light switches, and ceiling fans to ensure they function․ Verify that all lighting fixtures are in working condition․ For the HVAC system, turn on the heating and cooling to confirm they operate effectively and check for consistent airflow through vents․ A final walk-through checklist PDF can help organize these inspections, ensuring no critical system is overlooked before closing․
Appliances and Fixtures Verification
Verifying appliances and fixtures is a critical part of the final walk-through process․ Ensure all included appliances, such as the oven, refrigerator, dishwasher, and microwave, are in proper working condition․ Turn on each appliance to test functionality and check for any signs of damage or malfunction․ Inspect fixtures, including lighting, ceiling fans, and plumbing hardware, to ensure they are undamaged and operational․ Review the final walk-through checklist PDF to confirm all items are accounted for and functioning as expected․ Additionally, verify that all remote controls and necessary accessories are present․ This step ensures that the property is delivered in the condition agreed upon, providing peace of mind for the buyer․

Conducting the Final Walk-Through
The final walk-through ensures the property is in the agreed-upon condition․ Use the final walk-through checklist PDF to systematically inspect each area, verifying all repairs and ensuring everything functions properly․
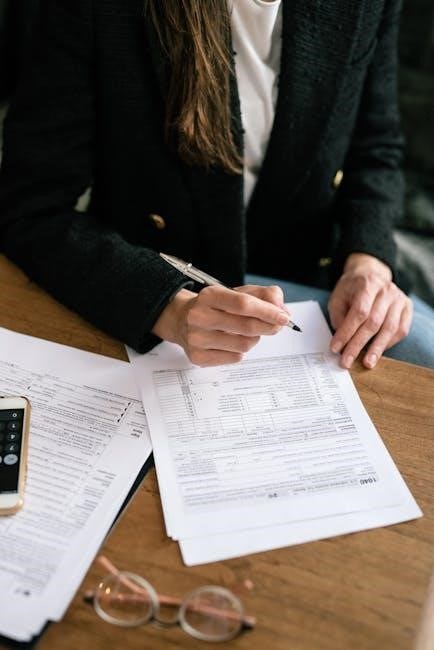
When preparing for the final walk-through, it’s essential to bring several key items to ensure a thorough inspection․ First, bring a printed or digital copy of the final walk-through checklist PDF to guide your evaluation․ This checklist will help you systematically review each area of the property․ Additionally, bring your purchase agreement to reference the agreed-upon terms and any repairs the seller was responsible for completing․ A home inspection report is also crucial to verify that all previously identified issues have been addressed․ Don’t forget a phone or camera to document any findings or concerns․ A flashlight can be helpful for inspecting dark areas like attics or crawl spaces․ Finally, having a pen and notebook handy allows you to note any discrepancies or needed fixes․ Being organized ensures nothing is overlooked during this critical step․ Accurately documenting findings and repairs during the final walk-through is essential for ensuring all issues are addressed before closing․ Begin by systematically reviewing each item on your final walk-through checklist PDF․ For any defects or needed repairs, take clear photos or videos as visual evidence․ Note the location and nature of each issue in detail․ Use the checklist itself to mark repairs that have been completed and those that remain unresolved․ If possible, attach your photos and notes to the checklist․ This documentation serves as a record for both the buyer and seller․ After the walk-through, share the documented findings with the seller or their agent to ensure repairs are completed․ This process helps maintain transparency and accountability, protecting both parties involved in the transaction․ The final verification ensures all conditions are met․ Both parties review the final walk-through checklist PDF, confirming repairs and agreed-upon terms․ This step is crucial for a smooth closing process․ Reviewing and signing the final walk-through checklist PDF is a critical step in the homebuying process․ Both the buyer and seller must meticulously go through each item, ensuring all repairs and conditions are met․ This document serves as a mutual agreement that the property is in the expected state․ Once satisfied, both parties sign and date the checklist, creating a legally binding acknowledgment․ It’s essential to keep a copy for personal records, as it provides a clear understanding of the property’s condition at the time of closing․ This process ensures transparency and accountability, protecting both sides from potential disputes․ After completing the final walk-through checklist PDF, the next steps are focused on finalizing the home purchase․ Assuming everything is in order, the buyer and seller proceed to closing․ This involves signing the official documents, transferring ownership, and handling the payment․ If any issues were uncovered during the walk-through, they must be addressed before closing․ The buyer should also schedule utility setups and arrange for insurance coverage․ Once all conditions are met, keys are handed over, and the buyer officially takes possession of the property․ It’s important to keep a copy of the signed checklist for future reference, ensuring a smooth transition into the new home․ This step marks the culmination of the homebuying process, allowing the buyer to confidently move forward․What to Bring to the Walk-Through
How to Document Findings and Repairs
Final Verification and Agreement
Reviewing and Signing the Checklist
Next Steps After the Walk-Through